Control
Use your Microscope
Get started with your OpenFlexure Microscope.
Controlling the device directly

Since the microscope uses a Raspberry Pi to control the hardware, by connecting a display, mouse, and keyboard, you can use OpenFlexure Connect on the microscope directly. You can launch OpenFlexure Connect from your application menu, under ‘Other’.
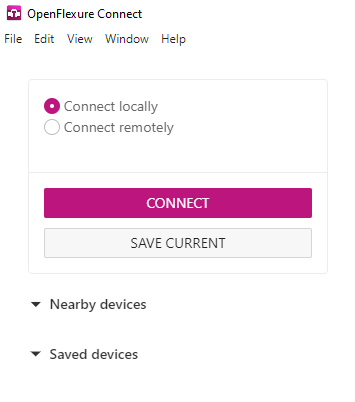
From here, ensure that the ‘Connect locally’ option is checked, then click ‘Connect’. After a few seconds, you should see a live preview of the microscope camera, and full software control over the device.
Controlling the device from another computer

OpenFlexure Connect allows you to control your microscope from another device on the same network. This is the recommended way to use your microscope.
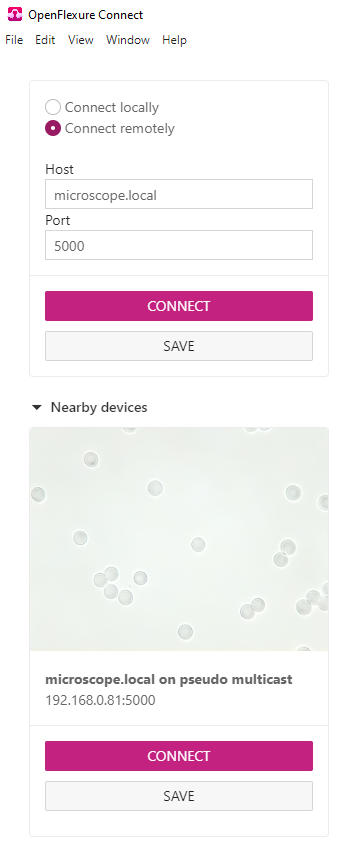
In OpenFlexure Connect, use the Nearby Devices section to find your microscope.
If your device cannot be found automatically, you can manually enter an IP address or hostname with the Connect Remotely option.
Use your existing network
OpenFlexure Connect works by sending commands to the microscope over a network connection. This means that if the Raspberry Pi is connected to the same (wired or wireless) network as your laptop, for example, you can remotely control the microscope from that device.
Connect directly via ethernet
On most modern computers, you can simply connect the Raspberry Pi directly to the device via an ethernet cable for simple, high-speed control. For many applications using a single microscope, this is a preferred setup.